
Play 2.3 Applications on OpenShift
This is a quick how-to guide to get your Play 2.3 applications up and running on RedHat’s OpenShift PaaS. OpenShift unfortunately doesn’t support Play out of the box, and there are some pitfalls that can be quite annoying.
Why OpenShift?
As I said, OpenShift – contrary to many other PaaS providers like CloudBees or Heroku – does not support Play directly, but you can use a third-party “cartridge” (that’s what they call the set of scripts and the initial template) to run Play. So why OpenShift? For a pet project, that I wanted to run as cheaply as possible, I needed a database with more than the usual 5MB / 10k rows you get with most free PaaS offerings. On OpenShift, you simply get 1GB of total storage, including your database.
Getting Started
First you need to create a new application from scratch and choose an URL for your application. Fortunately, we don’t actually have to start from scratch but can use Michel Daviot‘s OpenShift Play Framework Cartridge. Leave the Source Code field empty, but set the Cartridge to the following URL: http://cartreflect-claytondev.rhcloud.com/reflect?github=tyrcho/openshift-cartridge-play2&commit=play-2.3.0.
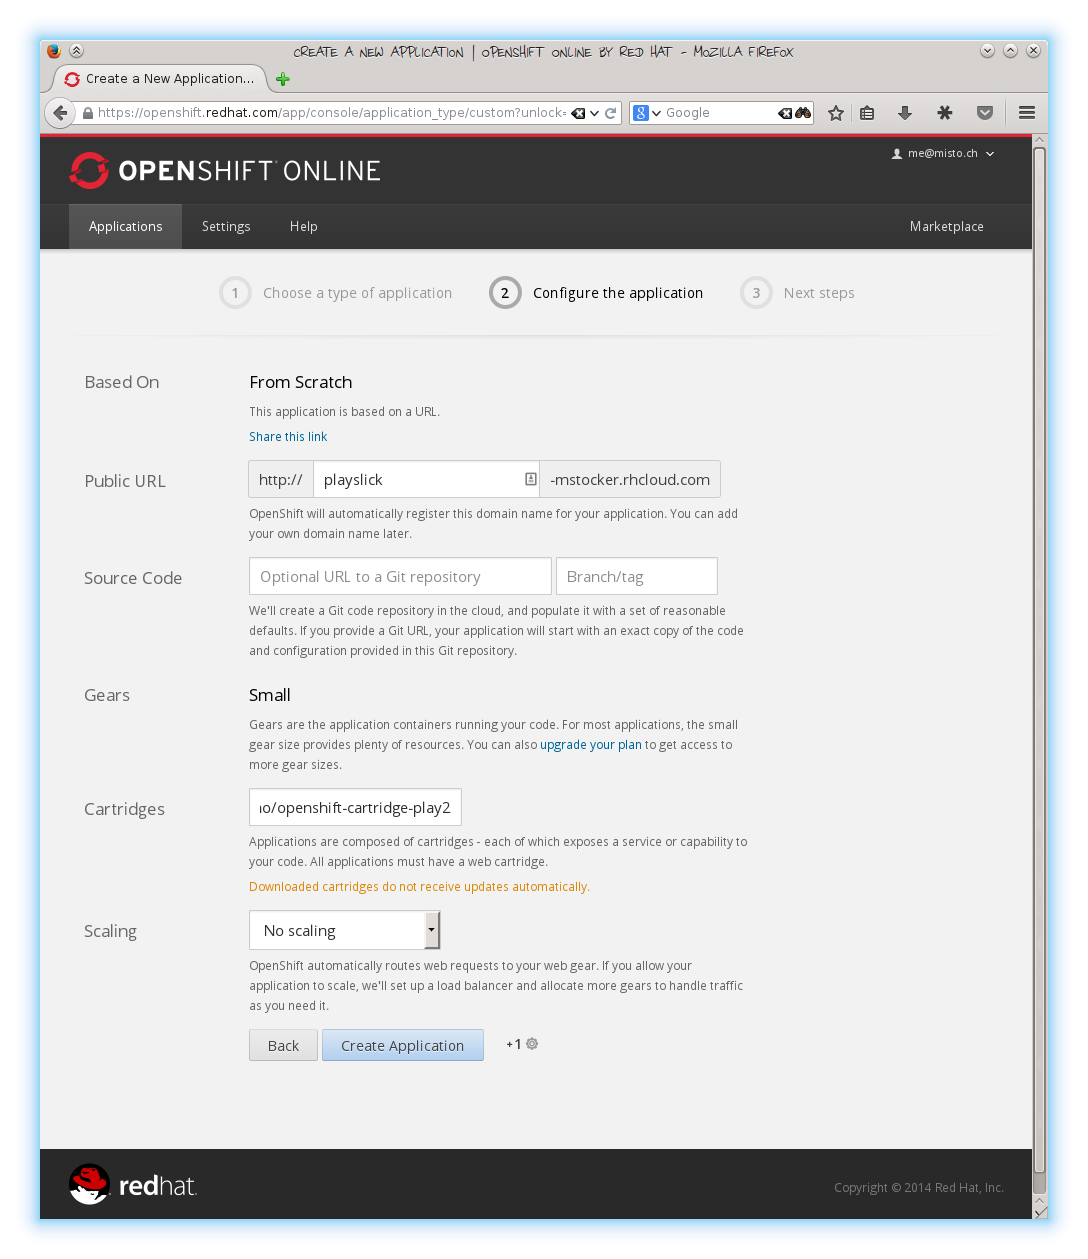
Let OpenShift create the application and take a break. Seriously, it will take up to ten minutes to create the application. And even if the application overview page tells you that the application is ready, it might still need some additional time until it’s actually up and running. The primary reason is most likely that the underlying VMs just aren’t that powerful and don’t have that much RAM (512MB), and also that SBT initially needs to download Play and all its dependencies.
In the end, you should be able to access your new application:
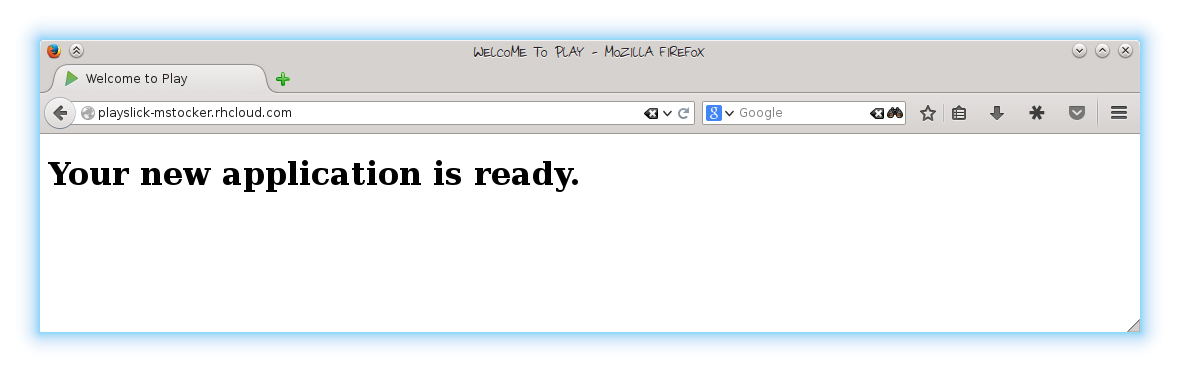
That’s wasn’t too hard, but the application isn’t very useful yet. In the next step, we are going to replace the Hello World template with an actual Play application.
Replacing the Template Application
Now let’s replace the template with an actual application. We’re going to run the Activator Play Slick Demo, so we need to first clone that repository. Then we add the OpenShift repository as a new remote (you will find the URL in the application overview page).
git clone https://github.com/loicdescotte/activator-play-slick.git
git remote add openshift ssh://XXX@playslick-mstocker.rhcloud.com/~/git/playslick.git/
git push -f openshift HEAD
When you push the new code, you’ll see OpenShift compile your code:
Counting objects: 46, done.
Delta compression using up to 4 threads.
Compressing objects: 100% (41/41), done.
Writing objects: 100% (46/46), 8.09 KiB | 0 bytes/s, done.
Total 46 (delta 15), reused 0 (delta 0)
remote: Building git ref 'master', commit 4e8c09a
remote:
remote: [info] Loading project definition from /var/lib/openshift/53bcfe2c500446884400021a/app-root/runtime/repo/project
remote: [info] Set current project to activator-play-slick (in build file:/var/lib/openshift/53bcfe2c500446884400021a/app-root/runtime/repo/)
...
remote: [success] Total time: 162 s, completed Jul 9, 2014 8:29:16 AM
remote: Preparing build for deployment
remote: Deployment id is 9a7ca0fe
remote: Activating deployment
remote:
remote:
remote: -------------------------
remote: Git Post-Receive Result: success
remote: Activation status: success
remote: Deployment completed with status: success
To ssh://53bcfe2c500446884400021a@playslick-mstocker.rhcloud.com/~/git/playslick.git/
 + a6011c5...4e8c09a HEAD -> master (forced update)
Building the application succeeded, but it won’t work:
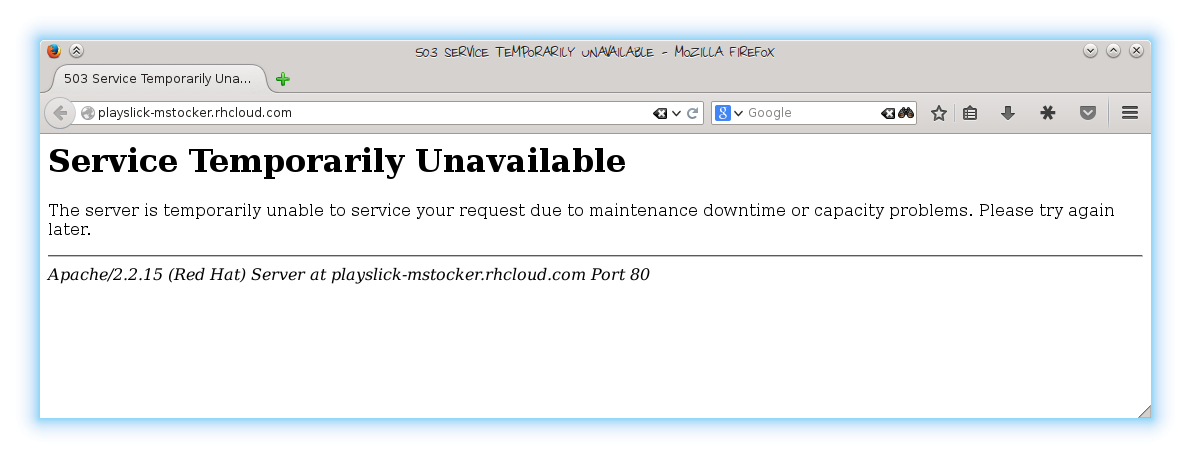
Fortunately, we can log into the VM. The exact ssh command is listed on the application overview, beneath the clone URL. The most interesting file on the VM is probably the log file, which you can find at play2/logs/play.log. The play2 directory also contains the scripts and hooks. To figure out how OpenShift will start and stop your application, take a look at play2/bin/control.
[playslick-mstocker.rhcloud.com]\> ls play2/
bin  env  hooks  logs  metadata  README.md  template

[playslick-mstocker.rhcloud.com]\> ls play2/logs
play.log

[playslick-mstocker.rhcloud.com]\> ls play2/bin
control  install  setup
This gives a clue why the application doesn’t work:
[playslick-mstocker.rhcloud.com]\> less play2/logs/play.log
nohup: failed to run command `target/universal/stage/bin/play': No such file or directory

[playslick-mstocker.rhcloud.com]\> head play2/bin/control
#!/bin/bash -e

function start {
    cd $OPENSHIFT_REPO_DIR
    # build on first time
    [ -d target ] || build
    rm -f target/universal/stage/RUNNING_PID
    nohup target/universal/stage/bin/play -Duser.home=${OPENSHIFT_DATA_DIR} -Dhttp.port=8080 -Dhttp.address=${OPENSHIFT_PLAY2_IP} -DapplyEvolutions.default=true -Dconfig.resource=openshift.conf -mem 512 > $OPENSHIFT_PLAY2_LOG_DIR/play.log 2>&1 &
}
OpenShift (or rather, the cartridge we used) expects that the project is called play, but ours is activator-play-slick. We can either modify the control script or rename your project; I simply renamed the project name in the build.sbt. We can also see that the control script uses the openshift.conf file for the configuration, which doesn’t exist yet. So let’s create the conf/openshift.conf file in your repository and have it include the main configuration, so that we can overwrite OpenShift specific parts later on:
include "application"
There’s one last thing we need to do: the application uses play-slick to auto-generate the evolutions, but this doesn’t seem to be working when we run the staged application. To generate the evolution, we can simply run sbt test (if you know a direct way to run the play-slick DDL plug-in, please let me know). Now commit the generated conf/evolutions folder, the openshift.conf file and the changes to the build file to the repository. Push the changes to OpenShift, take another coffee and now we should see the application.
Using MySql instead of H2
As a final step, let us replace the default H2 database with MySQL. On the application overview page, add the MySQL Cartridge to your application. This will again take some time, but in the end it will give you the connection details. You don’t have to write this down because it will be provided to your application through environment variables. Add the following configuration to your openshift.conf:
db.default.slick.driver=scala.slick.driver.MySQLDriver
db.default.driver=com.mysql.jdbc.Driver
db.default.url="jdbc:mysql://"${OPENSHIFT_MYSQL_DB_HOST}":"${OPENSHIFT_MYSQL_DB_PORT}"/"${OPENSHIFT_APP_NAME}
db.default.user=${OPENSHIFT_MYSQL_DB_USERNAME}
db.default.password=${OPENSHIFT_MYSQL_DB_PASSWORD}
Also, don’t forget to add the MySQL driver to your build.sbt:
libraryDependencies ++= Seq(
  "org.webjars" %% "webjars-play" % "2.2.2",
  "com.typesafe.play" %% "play-slick" % "0.7.0-M1",
  "mysql" % "mysql-connector-java" % "5.1.30")
Now it gets a bit ugly: the H2 database definition is not compatible with MySQL, and I haven’t figured out how to just run the play-slick DDL generation, so we just adapt the schema by hand:
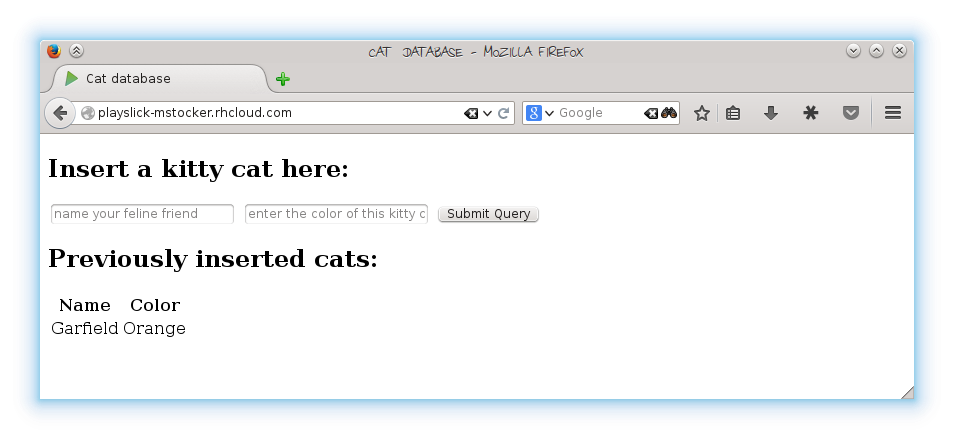
create table CAT (name TEXT NOT NULL, color TEXT NOT NULL);
Commit and push those changes, wait a moment and now your data will be stored in MySQL!
I hope this guide was useful, and I’d be happy to hear your experiences in running Play applications on OpenShift.
Hello,
thankx for this nice tutorial. Thankx to it we’re figuring out how to make our play app work on openshift.
Do you have any idea how to make use of java 1.8 ? Which we’re requiring?
Thankx for your help!
Hi Fred,
I don’t have any experience with Java 8 on OpenShift, but I found this question on Stackoverflow: http://stackoverflow.com/questions/23894323/jdk-8-support-at-diy-cartridge-in-openshift
Cheers
Mirko
How I should run `sbt test` ? I mean where? I seem not to have sbt in my PATH.
But you have activator, which also supports the test task.
Can you please help me with this problem? http://stackoverflow.com/questions/26957126/openshift-for-play-the-remote-end-hung-up-unexpectedly
As my application got bigger, I also ran into timeout issues. It could also be that the RAM is just not sufficient and thus the GC is slowing down everything. In the end, I’m now compiling locally (sbt stage) and I just copy the artifacts to OpenShift. :-/
Can I get your mail address? I need details how can I do that in activator.
The email is me@misto.ch, but all I’m doing is
sbt stage
scp -r target/universal 543bedc…blabla@play-mstocker.rhcloud.com:app-root/repo/target/
and then re-start the application.
I wanna thank you a lot!
Just one problem: the “set cartridge” process on GUI didn’t work. But i went to the page of the cartridge and there I found this command line that works quickly (it just ask you about authenticity of cartridge):
rhc app create myappForPlay http://cartreflect-claytondev.rhcloud.com/reflect?github=tyrcho/openshift-cartridge-play2
I didn’t succeed to put a play-java application under Openshift using this cartridge.
When following this guide, I got stuck on the step where I needed to rename my app to “play” to fit the play2/bin/control – My BIN_NAME is just defined like so:target/universal/stage/bin/
I don’t know if this is why this part of the guide makes me stuck or not, but there seems to be a difference with what you are seeing… Any comments?
Hi Oskar
It looks like the project has evolved since I wrote the tutorial, and they advise against using master because it isn’t stable yet, maybe that’s what you’re seeing. When you create the cartridge, use the following url http://cartreflect-claytondev.rhcloud.com/reflect?github=tyrcho/openshift-cartridge-play2&commit=play-2.3.0 (I’ve also just updated the post). Let me know if this works for you!
Oh, I just got this to work, but had to add some steps from comments etc, here is a simplification.
– Follow the guide to where you are supposed to push your application with git.
– Before pushing the app – add openshift.conf to your con dir, containing the stated:
include “application”
– Also edit your build.sbt file, and remove version, and changing the file to start like this:
name := “play”
version := “”
– now push like in the guide.
– form local shell, run ‘activator ivy-sbt stage’
– from local shell, run ‘scp -r target/universal 54ae[…]@[…your stuff here].rhcloud.com:app-root/repo/target’ but use your remote ssh key and your app / domain name.
Ok, glad you got it to work. I also ended up compiling locally and then pushin the binaries, but that’s not really how it’s supposed to work. So I ended up looking for alternatives (see the two recent blog posts) and so far I’m quite happy.